Settings guide
A tab-by-tab tour of GoResiti Settings, explaining what each tab controls and its main fields.
Open Administration > Settings. The tabs run across the top, and you only see the ones that apply to you. Some tabs need a higher plan, and Online shop and Gateways appear only when the online shop is available on your plan. Remember to click Save after changes. Settings affect future transactions only; invoices already posted are never rewritten.
#Business
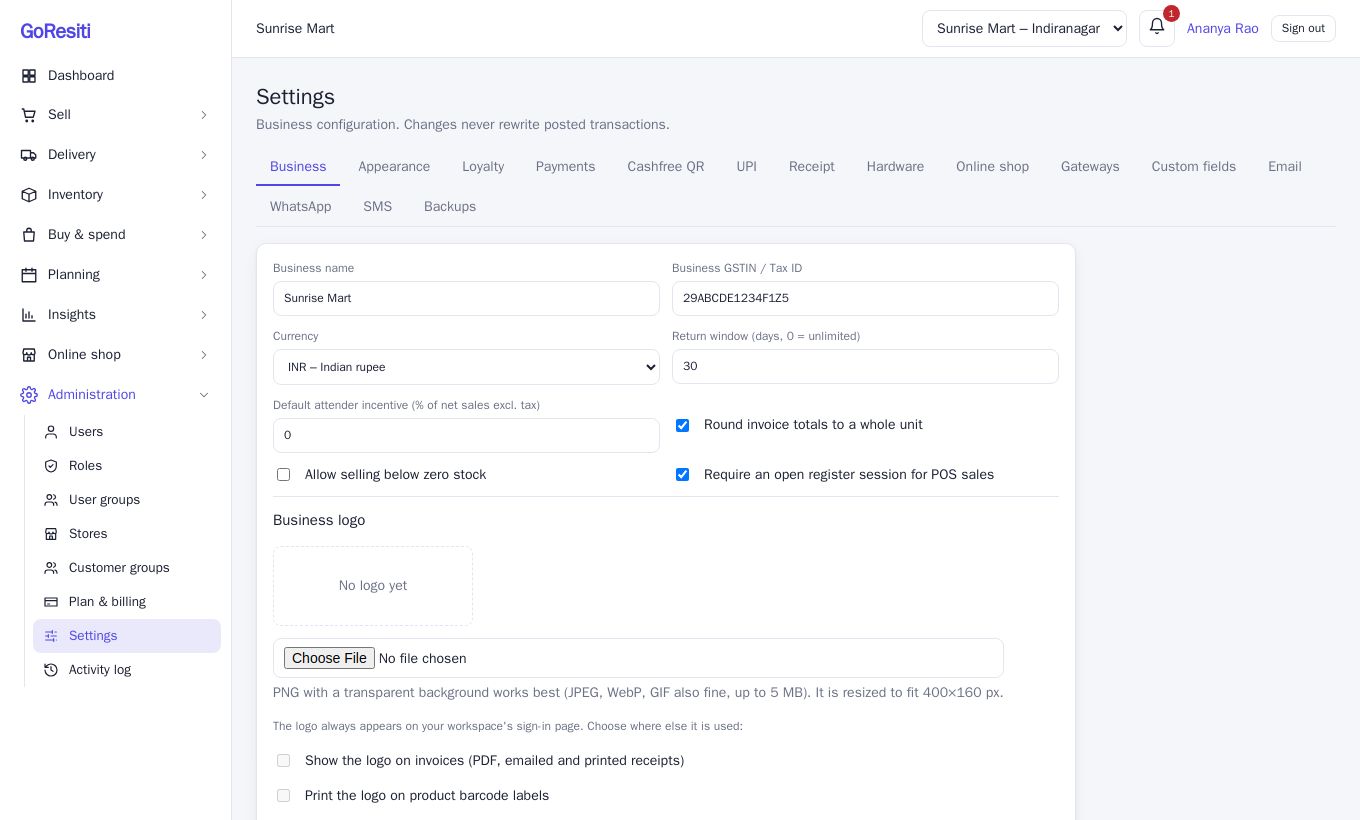
Your shop's basics: Business name, Business GSTIN / Tax ID, Currency and the Return window (days) (0 means no limit). Switches control Round invoice totals to a whole unit, Allow selling below zero stock, and Require an open register session for POS sales. You can also upload a Business logo and choose whether it shows on invoices and on barcode labels. On Growth and above there is a default attender incentive percentage. See Registers and Attenders.
#Appearance
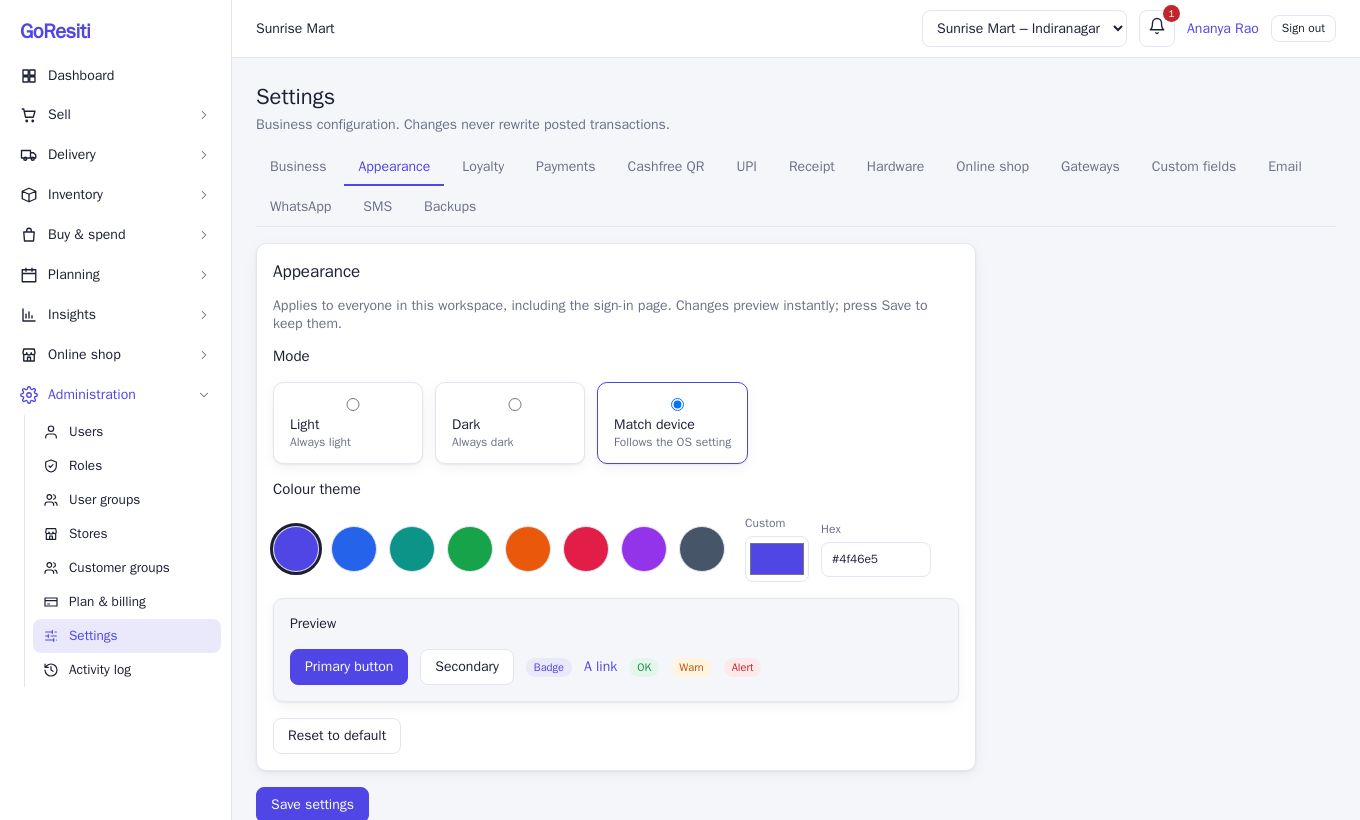
Choose the Mode (light or dark) and the Colour theme for everyone in the workspace, including the sign-in page. Pick a ready colour or enter a custom one. Changes preview instantly and are kept when you save.
#Loyalty
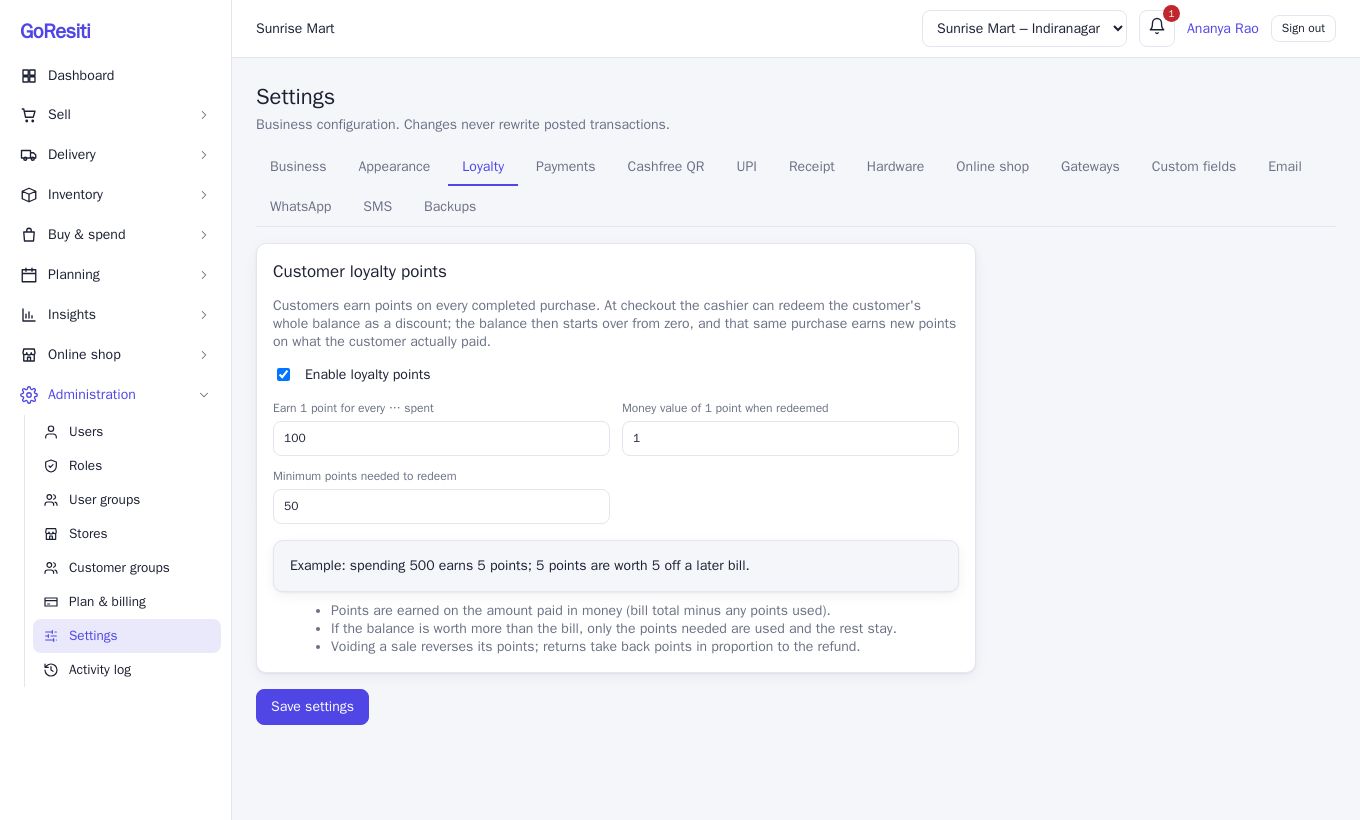
Needs the Growth plan or above. Turn on Enable loyalty points, then set how many rupees earn 1 point, what 1 point is worth when redeemed, and the minimum points needed to redeem. At the POS the cashier can redeem a customer's balance as a discount. See Customers.
#Payments
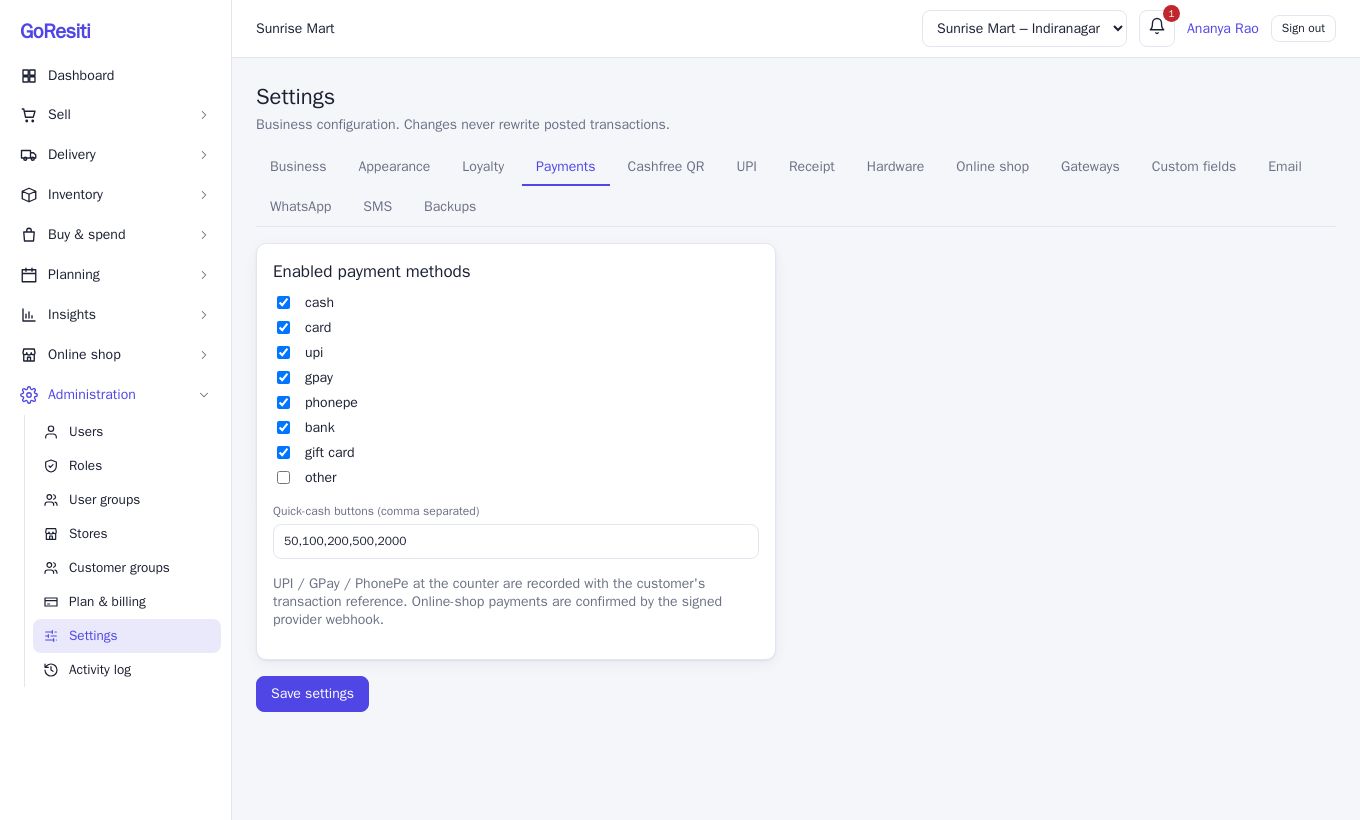
Tick the Enabled payment methods your counter accepts, and set the Quick-cash buttons (comma-separated amounts such as 100, 500) shown on the POS payment screen. See Point of sale.
#Cashfree QR
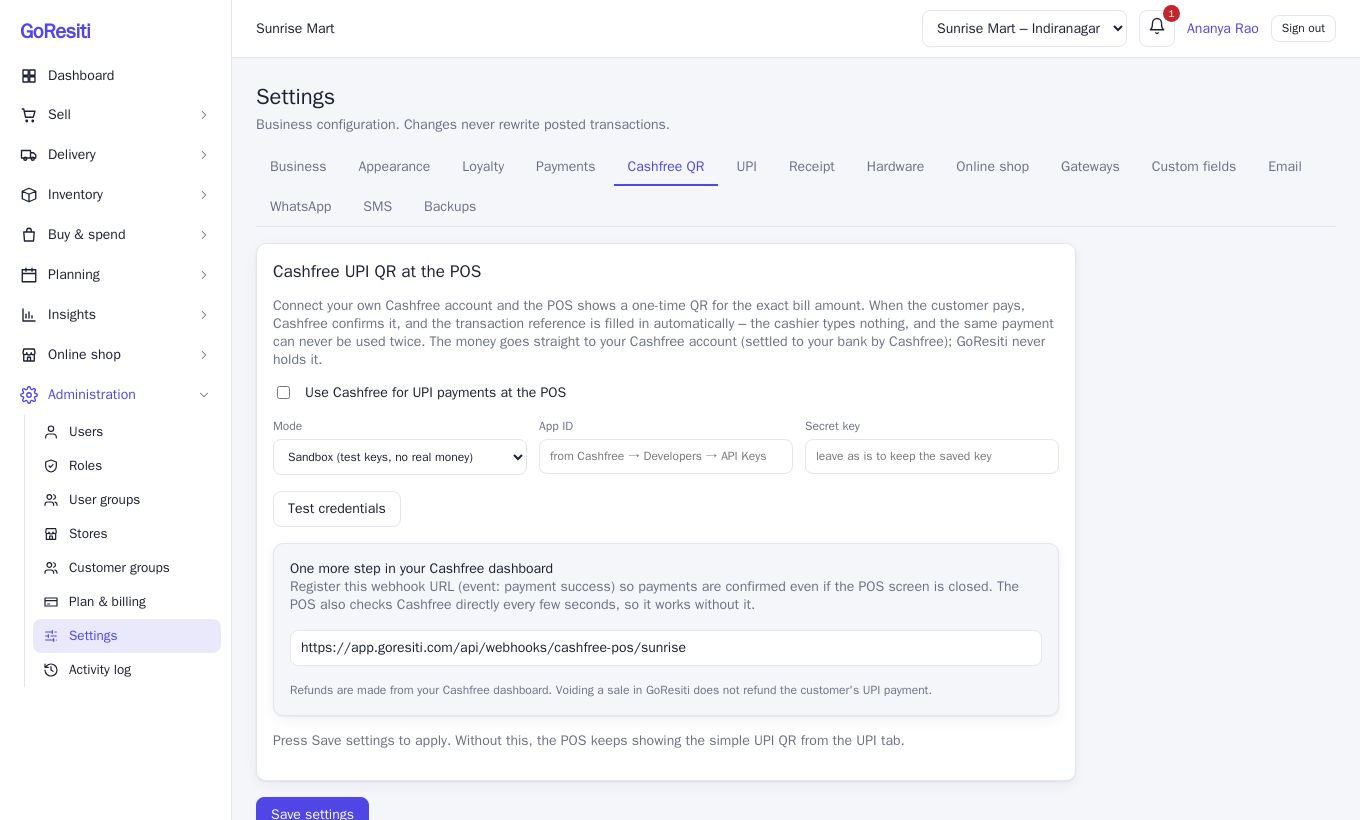
Needs the Business plan. Connect your own Cashfree account so the POS shows a one-time UPI QR for the exact bill amount. Payment is confirmed automatically and the reference is filled in for you. Choose the Mode (Sandbox for testing, Production for real money) and enter your App ID and Secret key. Money goes straight to your own Cashfree account.
#UPI
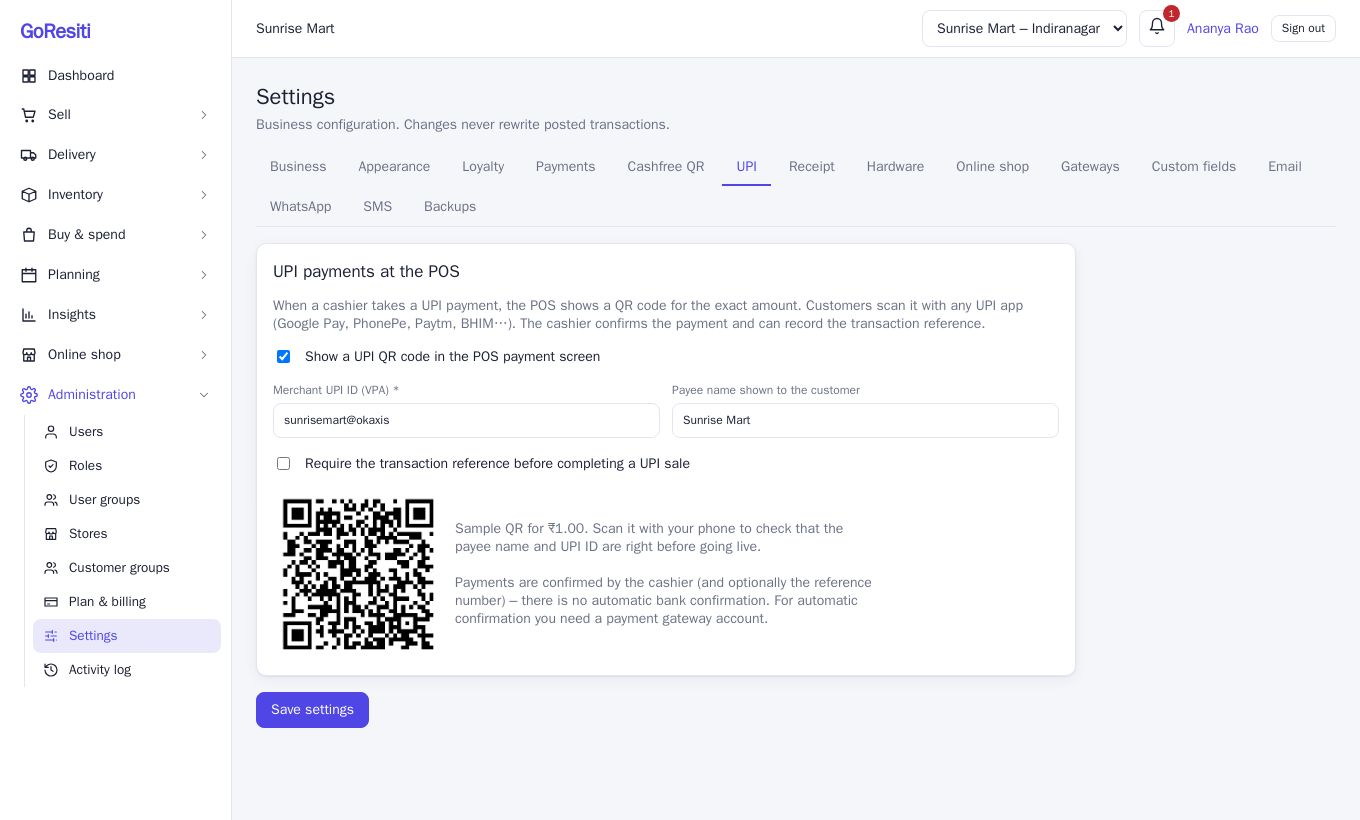
Show a UPI QR code on the POS payment screen. Enter your Merchant UPI ID (VPA) and the Payee name customers will see, and optionally require the transaction reference before a UPI sale is completed. Customers can scan with any UPI app. A preview is shown on the tab.
#Receipt
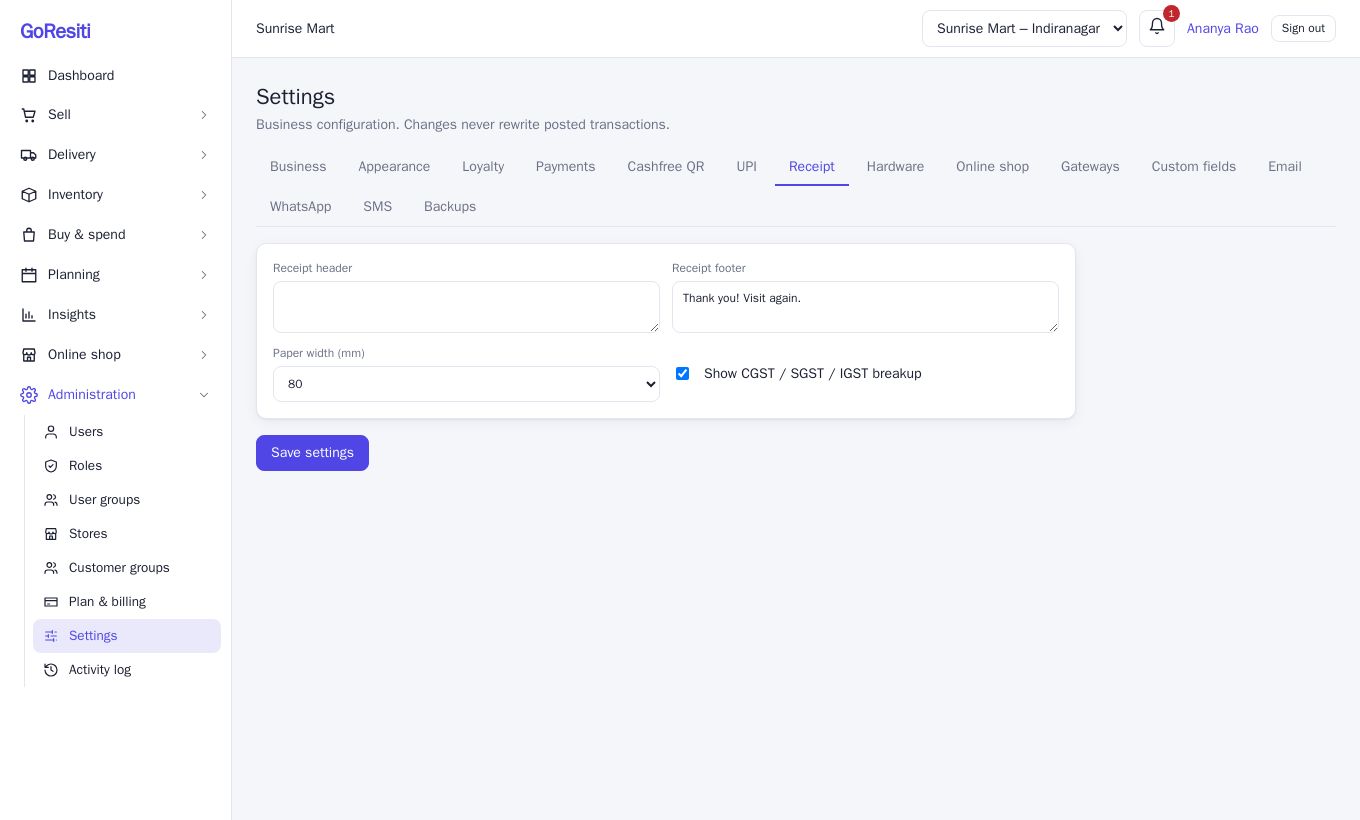
Set the Receipt header and Receipt footer, the Paper width (mm) (58, 80 or A4) and whether to Show CGST / SGST / IGST breakup.
#Hardware
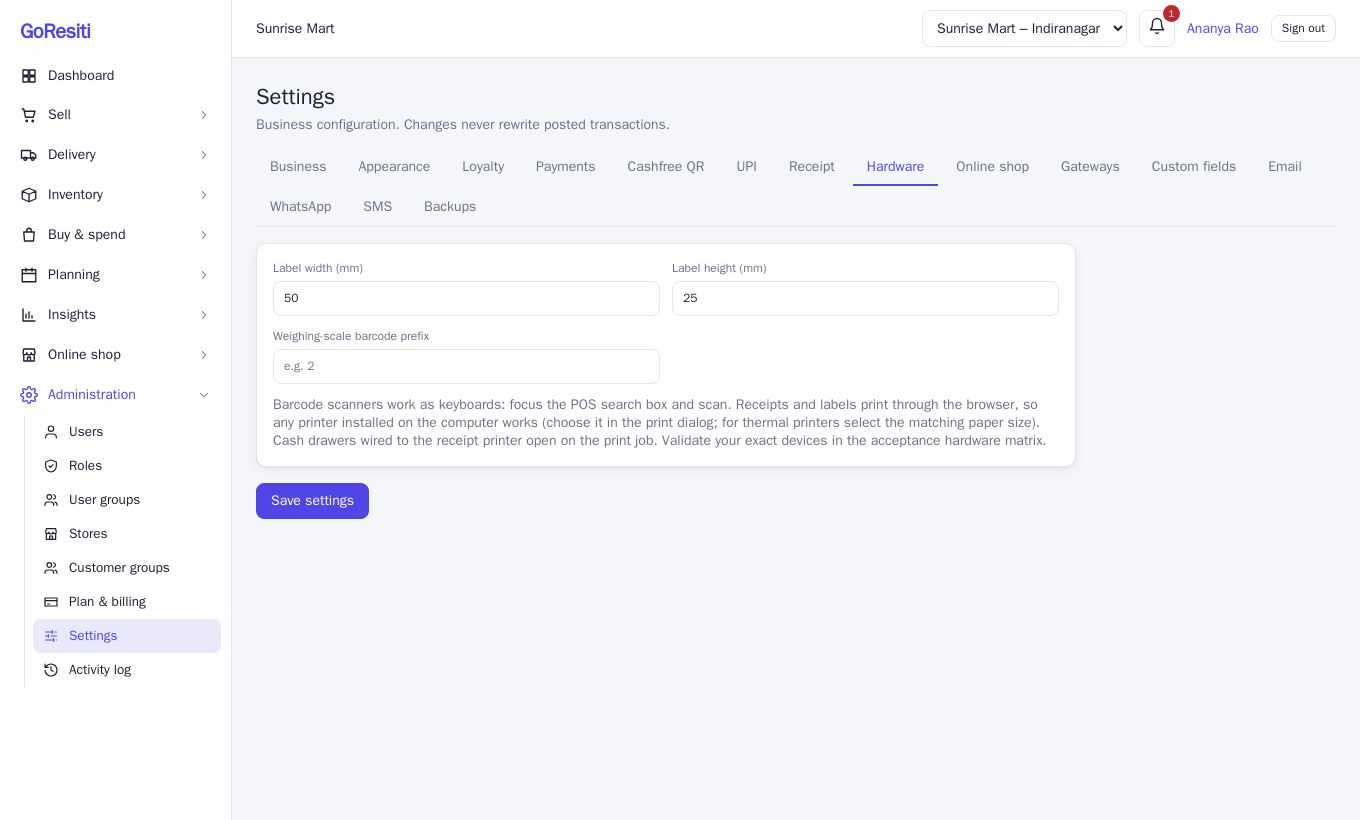
Barcode Label width and Label height (mm), and a Weighing-scale barcode prefix. Scanners work like keyboards: click the POS search box and scan. Receipts and labels print through your browser, so any installed printer works.
#Online shop
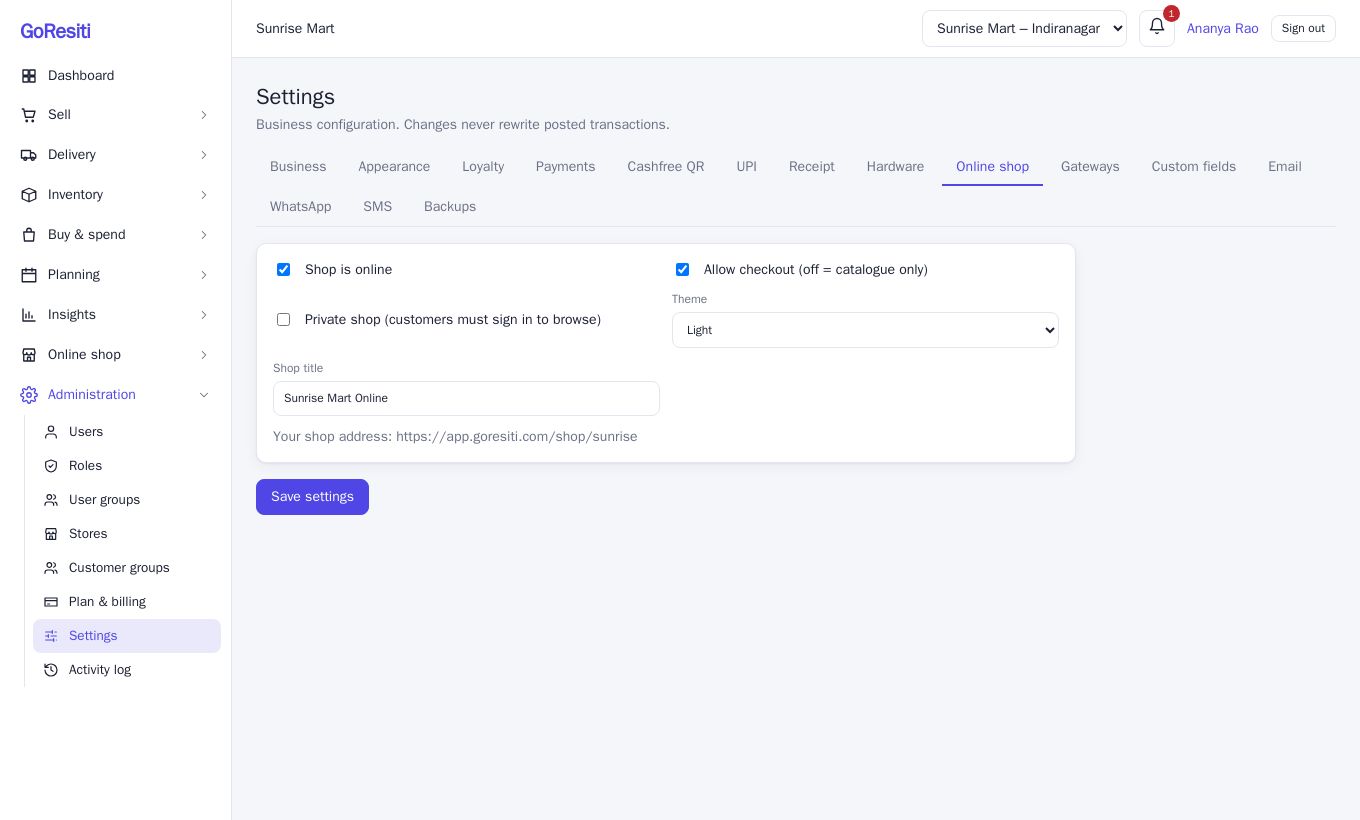
Needs the Business plan. Switch Shop is online, allow checkout or keep it catalogue-only, make the shop private, pick a light or dark Theme and set the Shop title. Your shop address is shown on the tab. See Storefront setup.
#Gateways
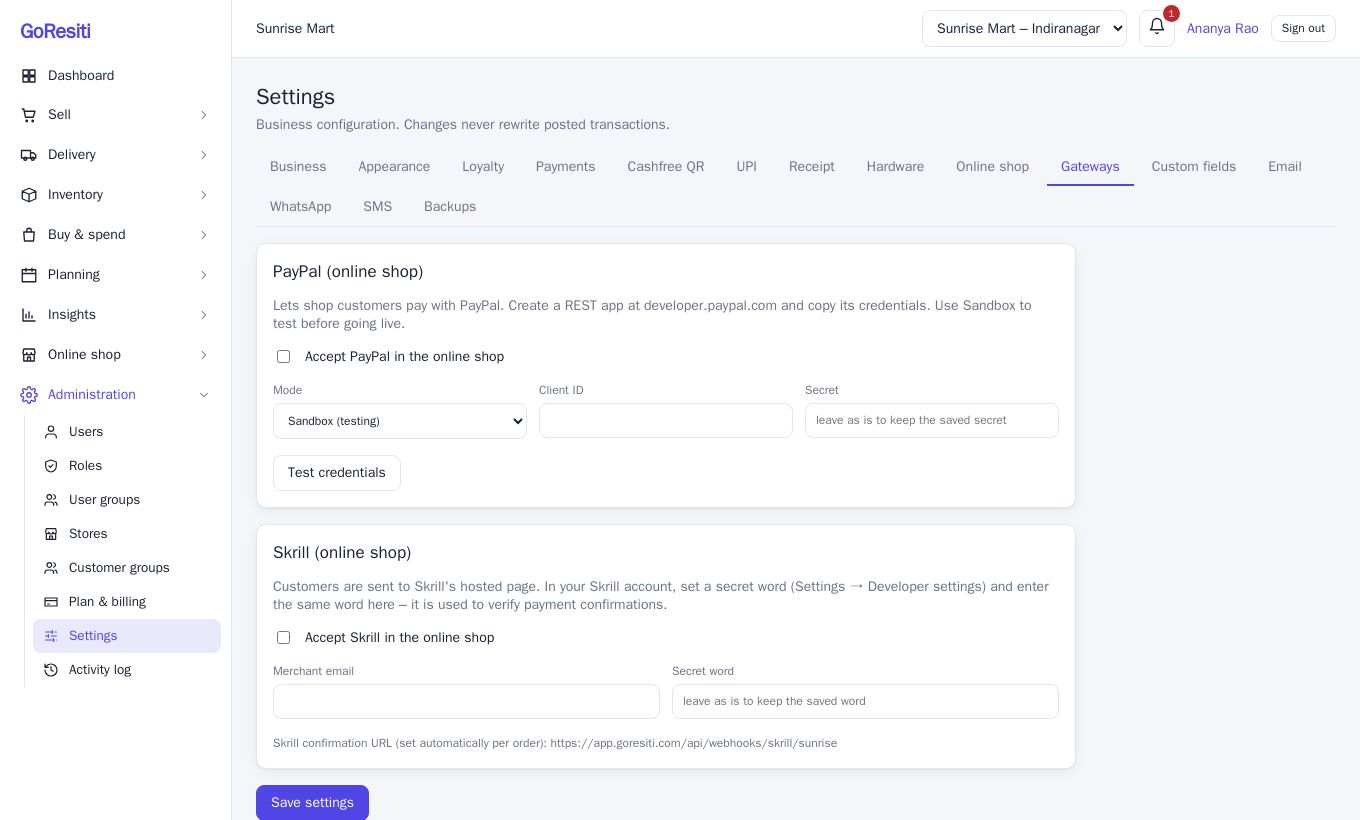
Needs the Business plan. Let online-shop customers pay with PayPal or Skrill. For each, tick the accept option and enter the credentials from your provider's account (PayPal also has Sandbox and Live modes). Saved secrets are hidden; leave the box as is to keep them.
#Custom fields
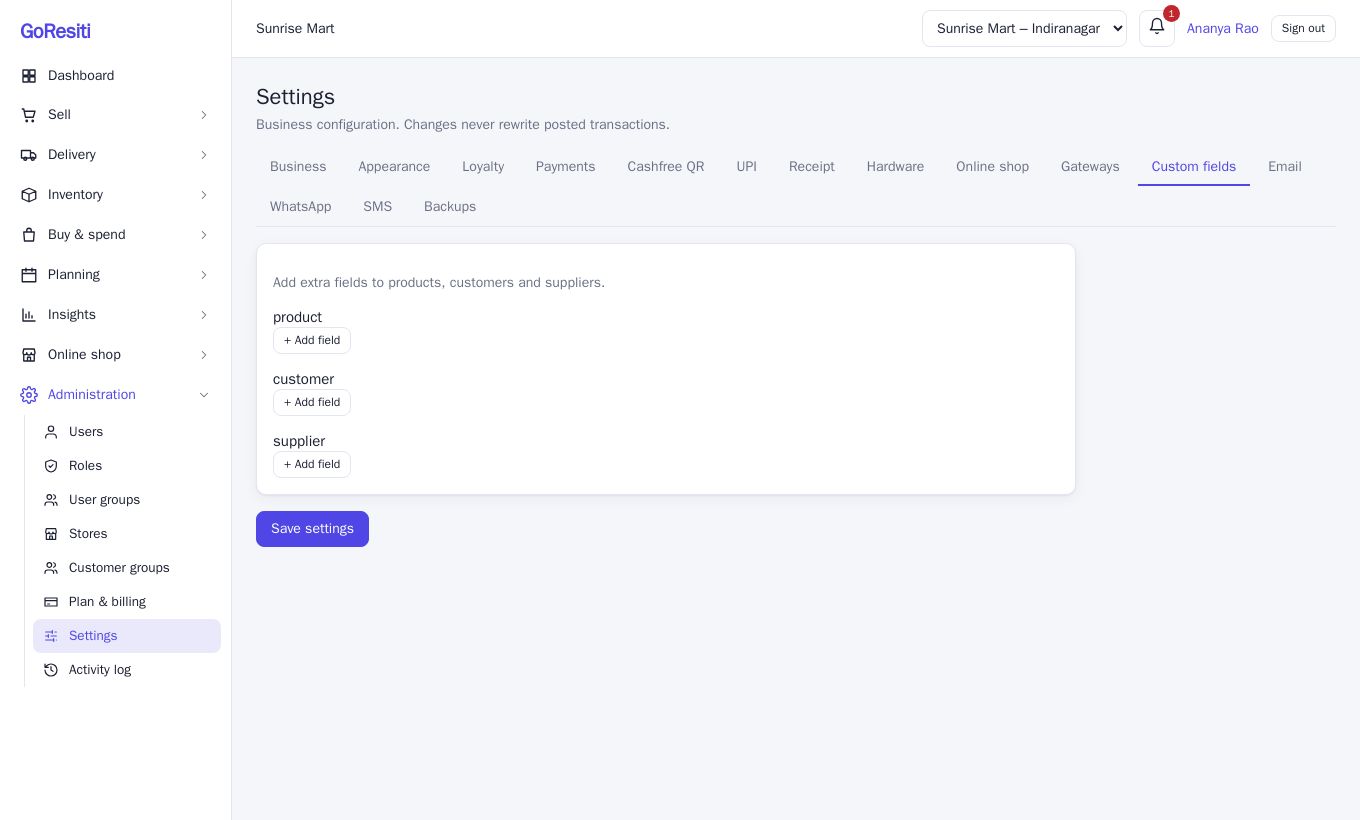
Add your own extra fields to products, customers and suppliers, for example "Shelf location". For each field give a key, a label and a type, then click + Add field.
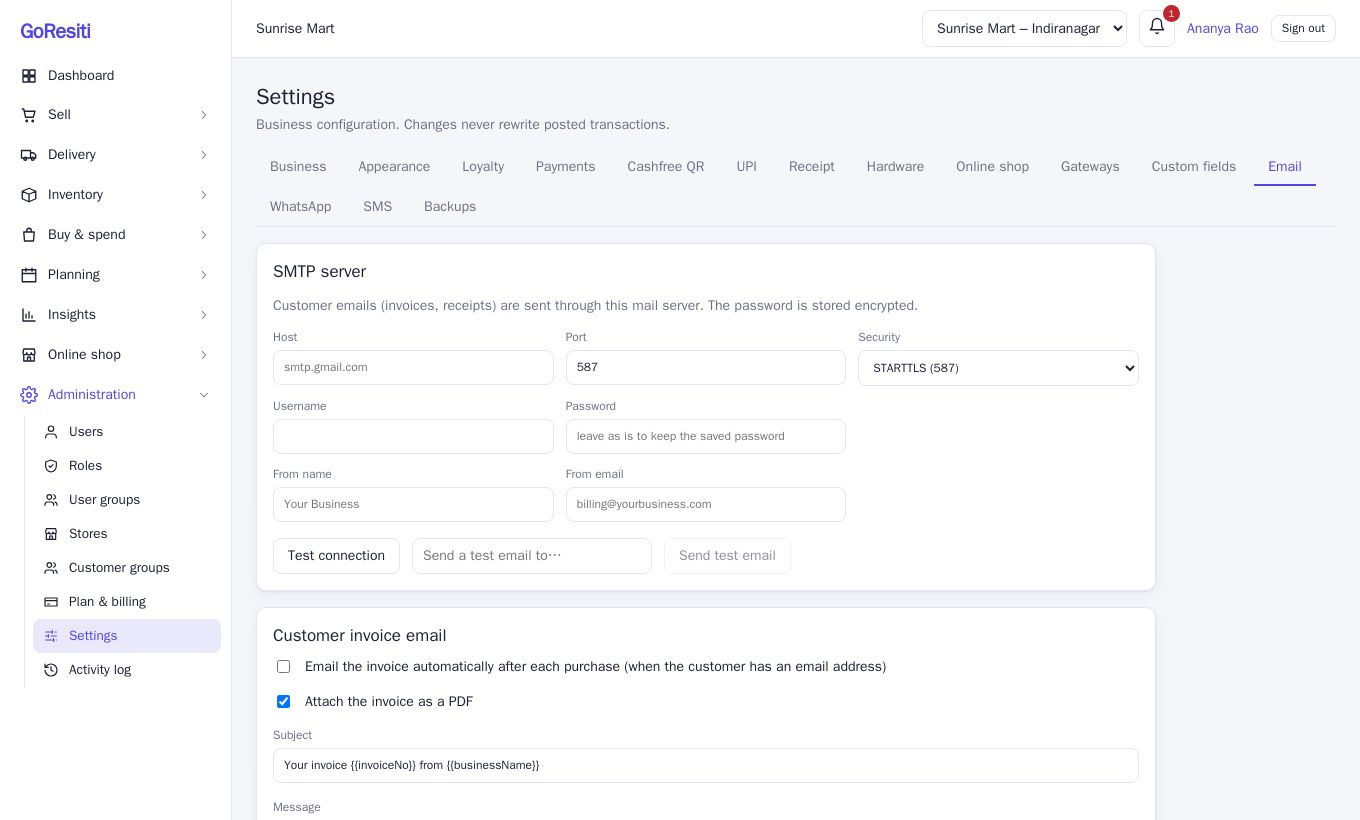
Needs the Growth plan or above. Enter your SMTP server details (host, port, security, username, password, from name and from email) so the app can email customers and send password resets. Below, choose whether to email the invoice automatically after each purchase, attach it as a PDF, edit the Subject and Message using placeholders, and optionally BCC yourself. An Email log shows what was sent or failed, with a retry option.
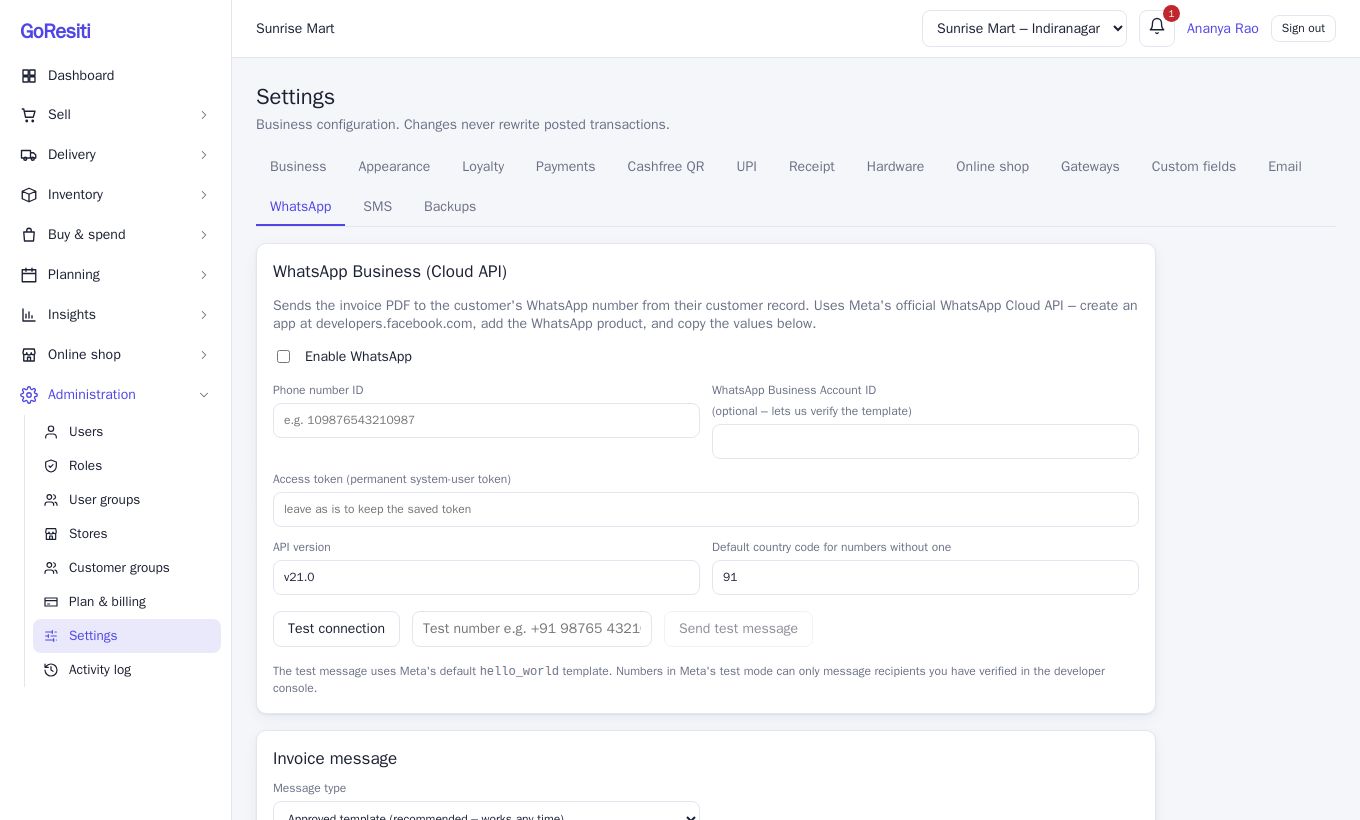
Needs the Growth plan or above. Send the invoice PDF to a customer's WhatsApp using the official WhatsApp Cloud API. Enable it, then enter your Phone number ID, Access token and other details from your Meta account. Choose an approved template (recommended) or a free-form message, and optionally send automatically after each purchase. A WhatsApp log shows results.
#SMS
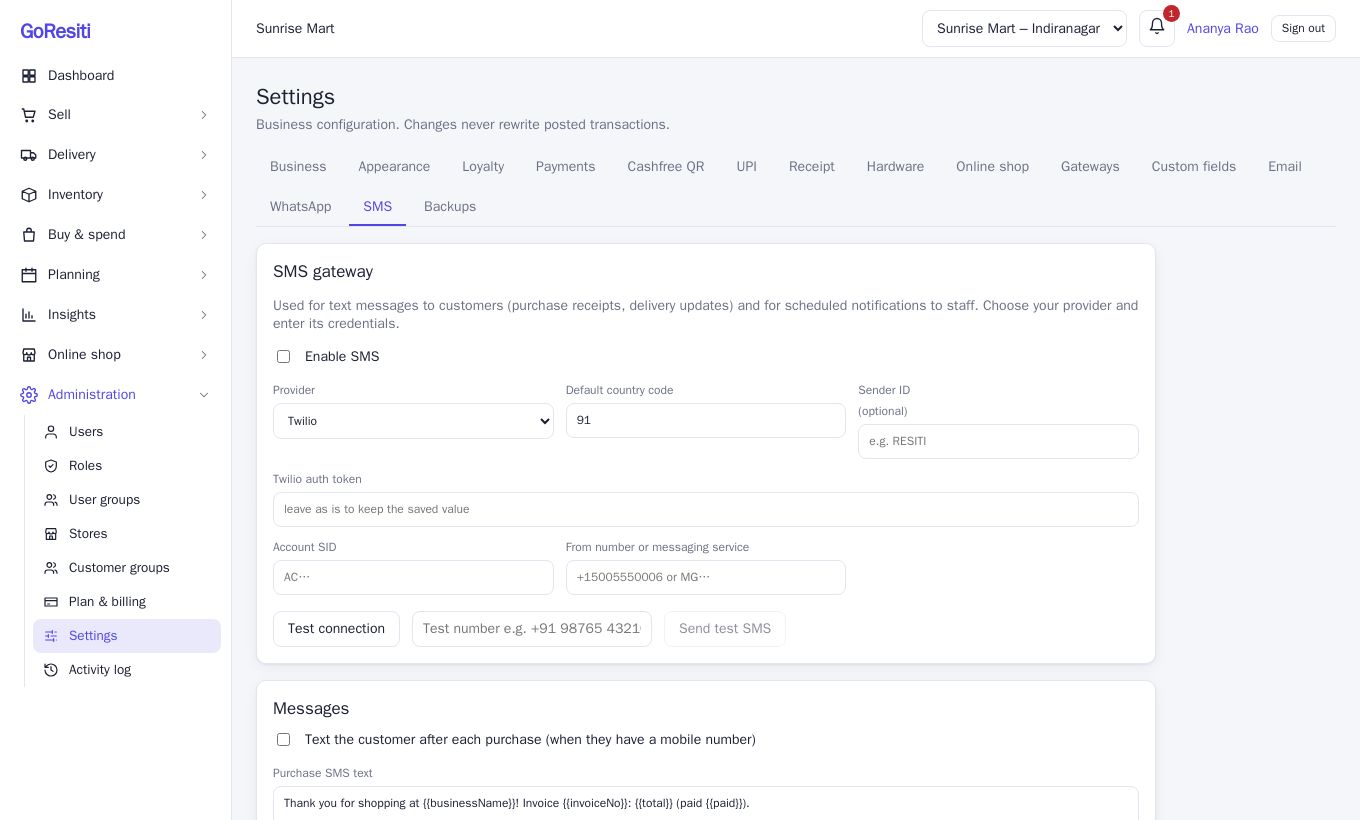
Needs the Business plan. Enable SMS and choose a Provider (Twilio, MSG91 or a custom HTTP gateway), the default country code and sender ID, and the provider's credentials. In Messages, you can text customers after each purchase and when a delivery goes out. An SMS log lists each message. For India, MSG91 needs a DLT template ID.
#Backups
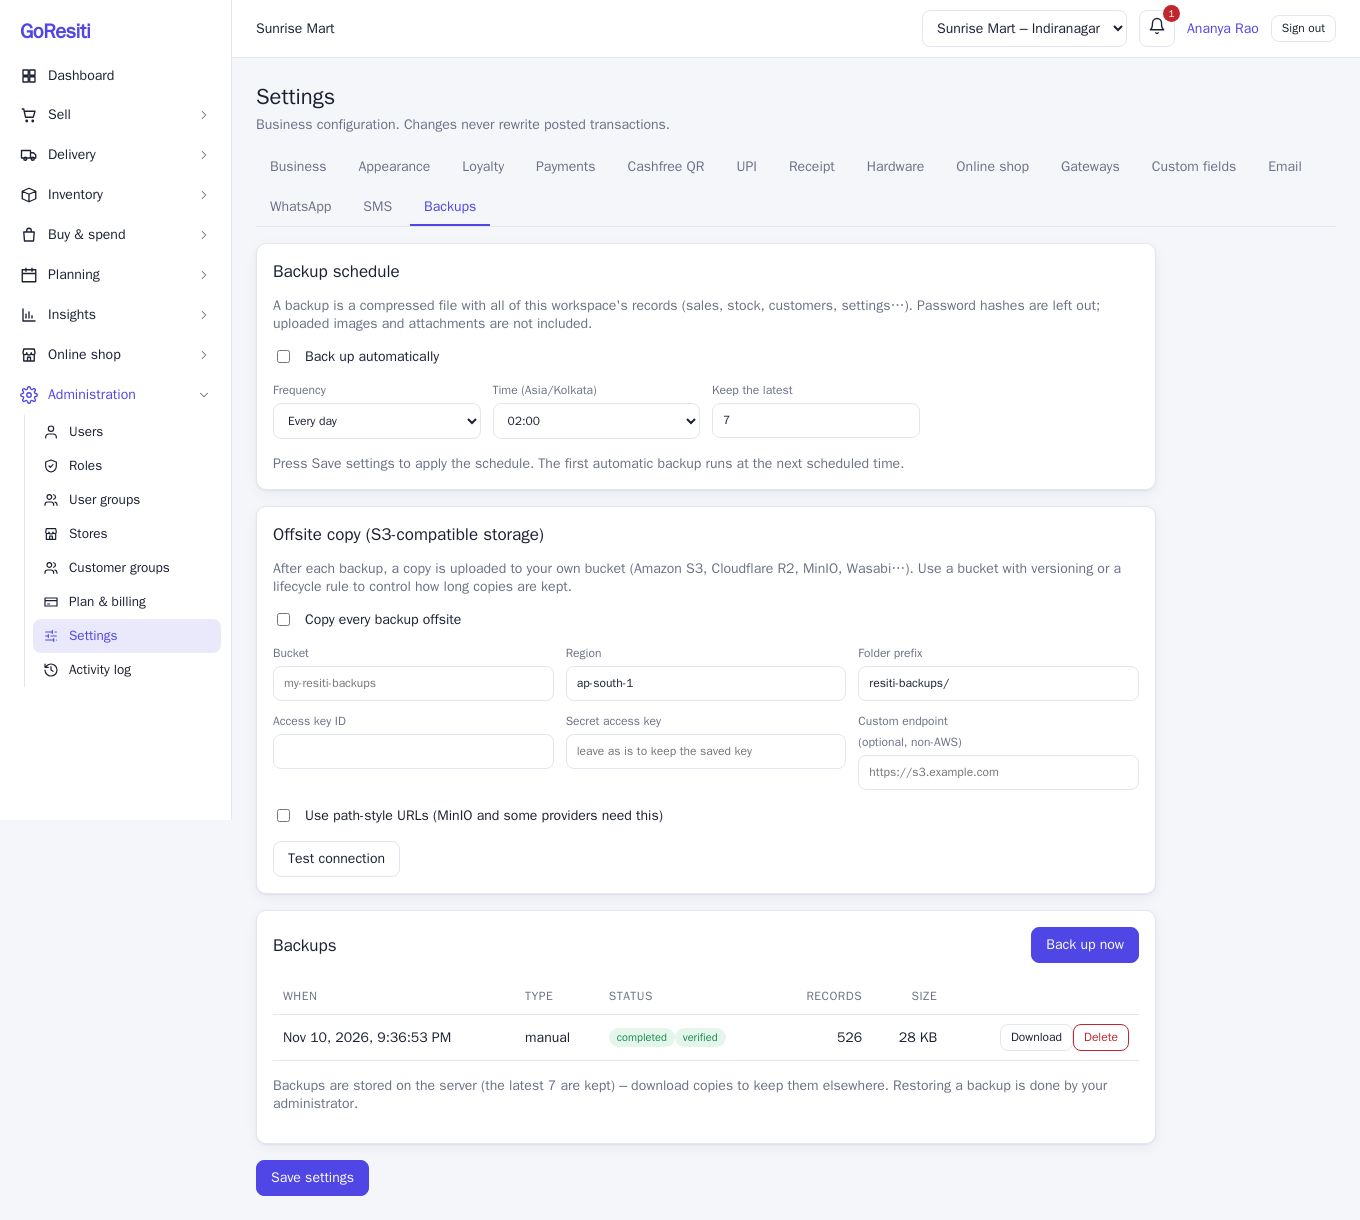
Set automatic backups (daily or weekly, the time, and how many to keep) on Growth and above, and an optional Offsite copy to your own S3-compatible storage on Business. Click Back up now for an instant backup; the list shows each one's status. See Backups.