Stock
See what you have in each store, fix mistakes, move goods between stores and run stock counts.
#The Stock page
Open Inventory → Stock. At the top, the Store drop-down lets you look at one store or All my stores. Below it are tabs:
- On hand shows current quantities.
- History shows every change to stock.
- Adjustments records corrections.
- Transfers moves goods between stores.
- Stock counts compares your shelves with the system.
Transfers and Stock counts appear only on plans that include them. See Plan and billing.
#Stock on hand
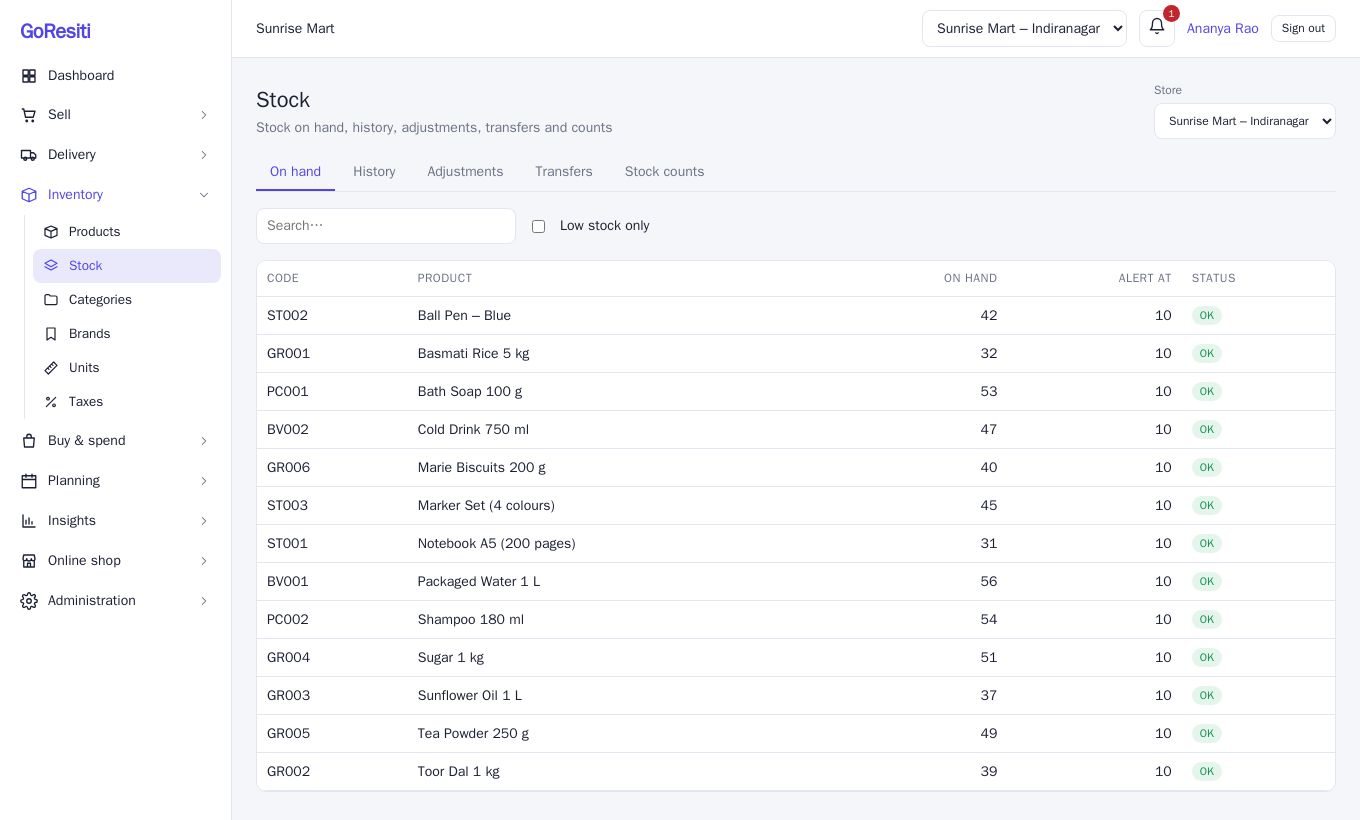
The On hand tab lists each stock-tracked product with its Code, On hand quantity, Alert at level and a status of OK or Low. Products with variants are listed one line per variant.
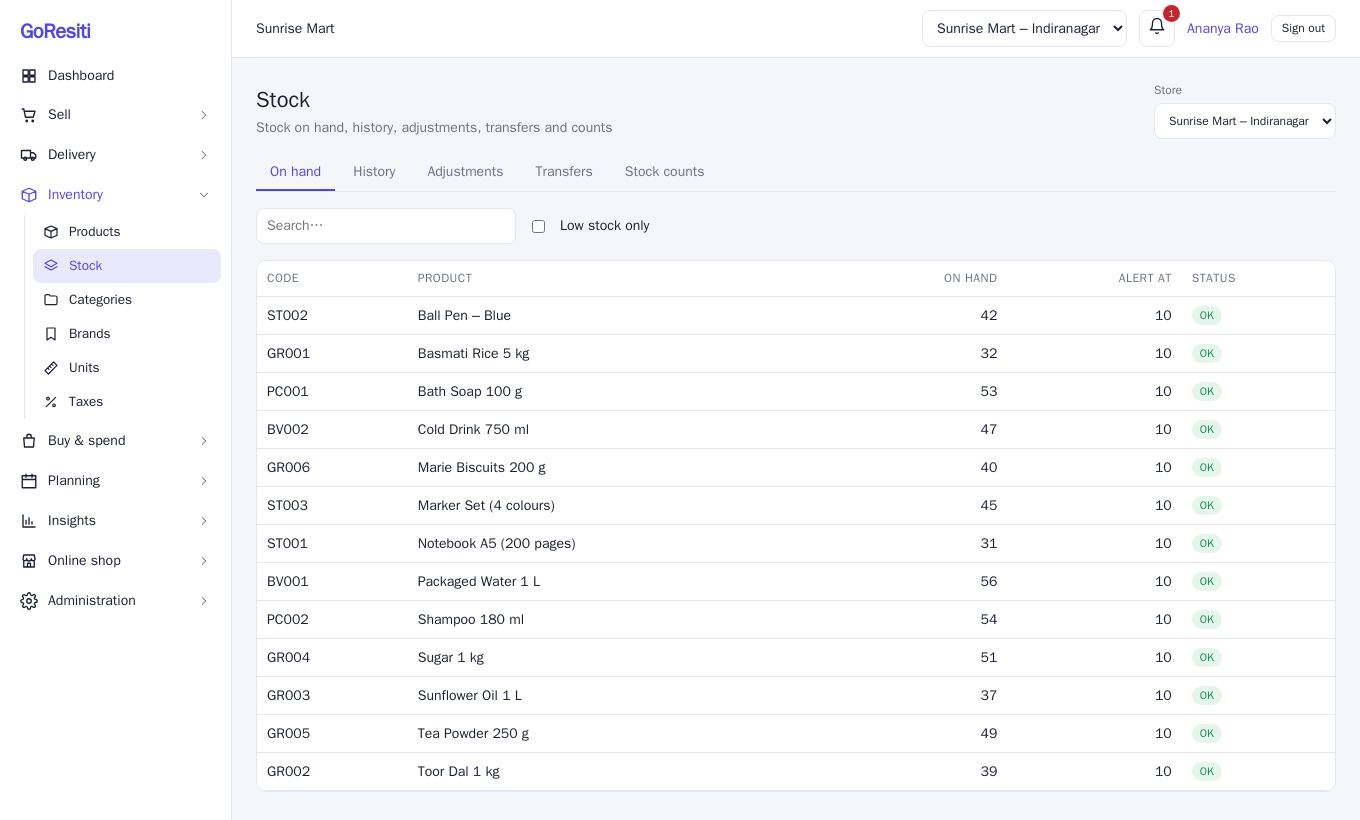
- Search by name or code with the search box.
- Tick Low stock only to see just the items at or below their alert level. This is a handy reorder list.
#Stock history
The History tab is a ledger of every change. Each row shows when it happened, the Type, a Reference (such as a bill or purchase number), the Product, the Change and the Balance after it.
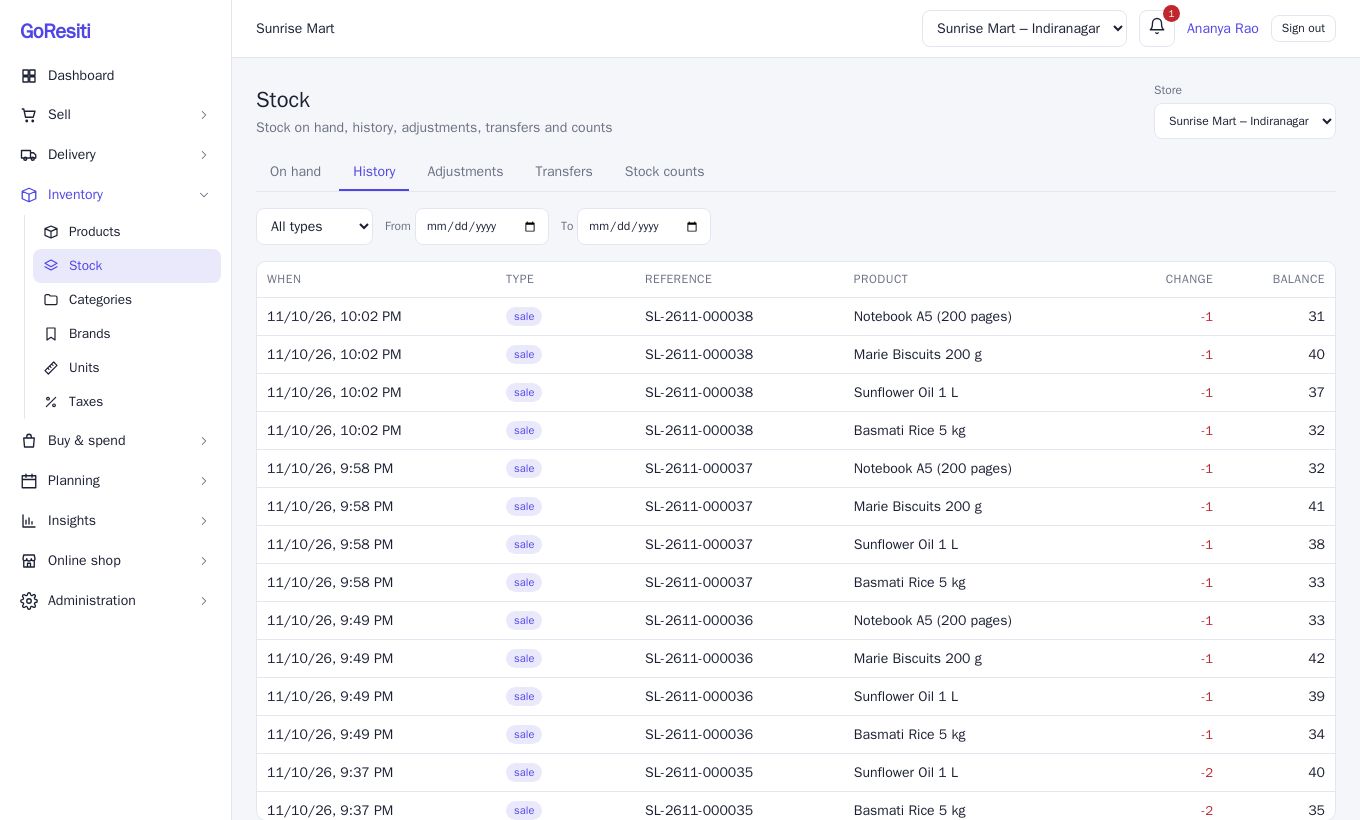
You can filter by type and by date using From and To. The types are: purchase, sale, return, adjustment, transfer_out, transfer_in, count and void.
#Adjustments
Use an adjustment when the real quantity differs from the system for a known reason: damage, expiry, theft, or goods you found.
- Open the Adjustments tab and click + New adjustment.
- Choose the Store.
- Choose a Reason: Damaged, Expired, Lost / theft, Found, Opening stock or Correction.
- For each line, pick the Product and enter the Quantity change. Use a plus number to add stock and a minus number to remove it, for example
-3. - Click + Add line for more products, then Post adjustment.
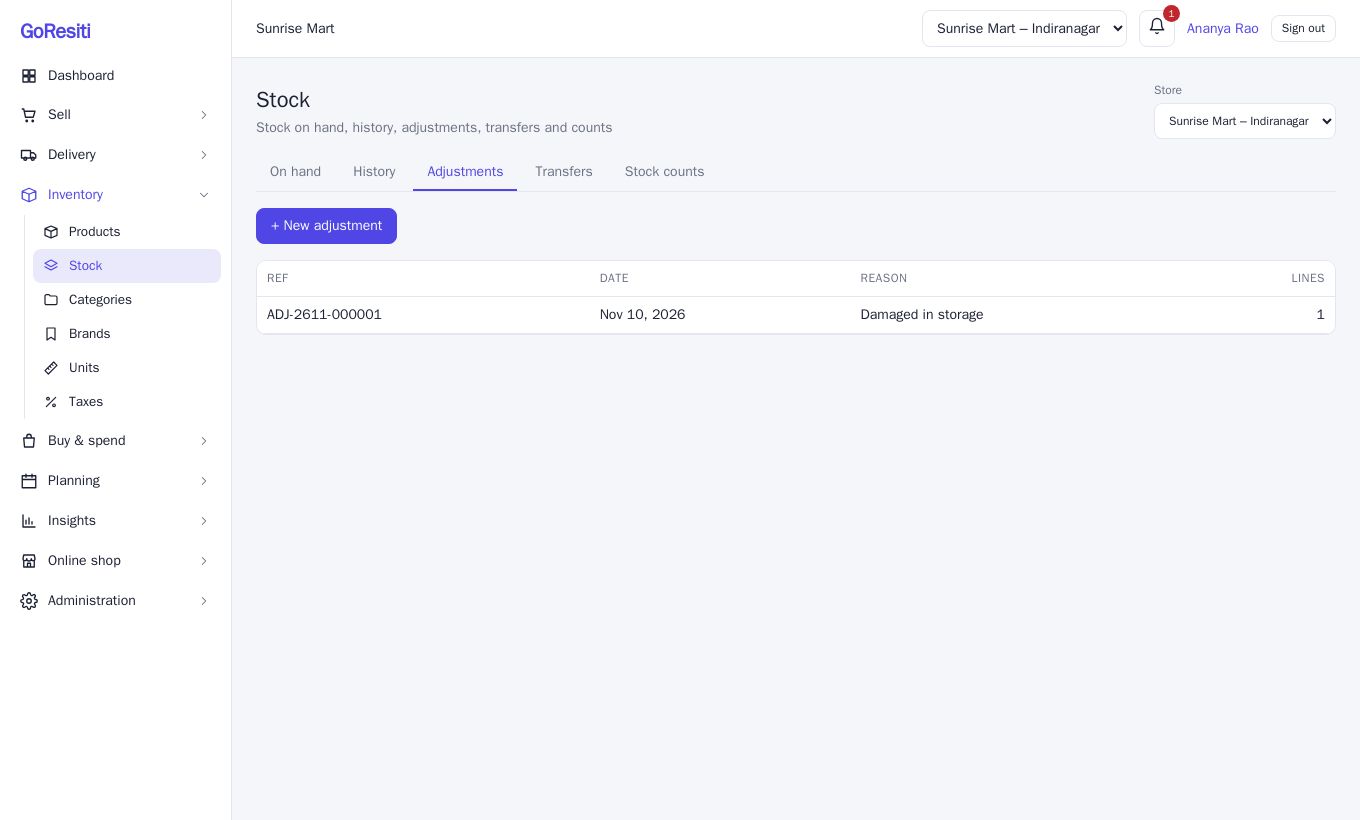
Each adjustment gets a reference number and appears in History. It needs the stock adjustment permission.
#Transfers between stores
Use a transfer when you send goods from one store to another. It is a two-step process so nothing disappears in transit.
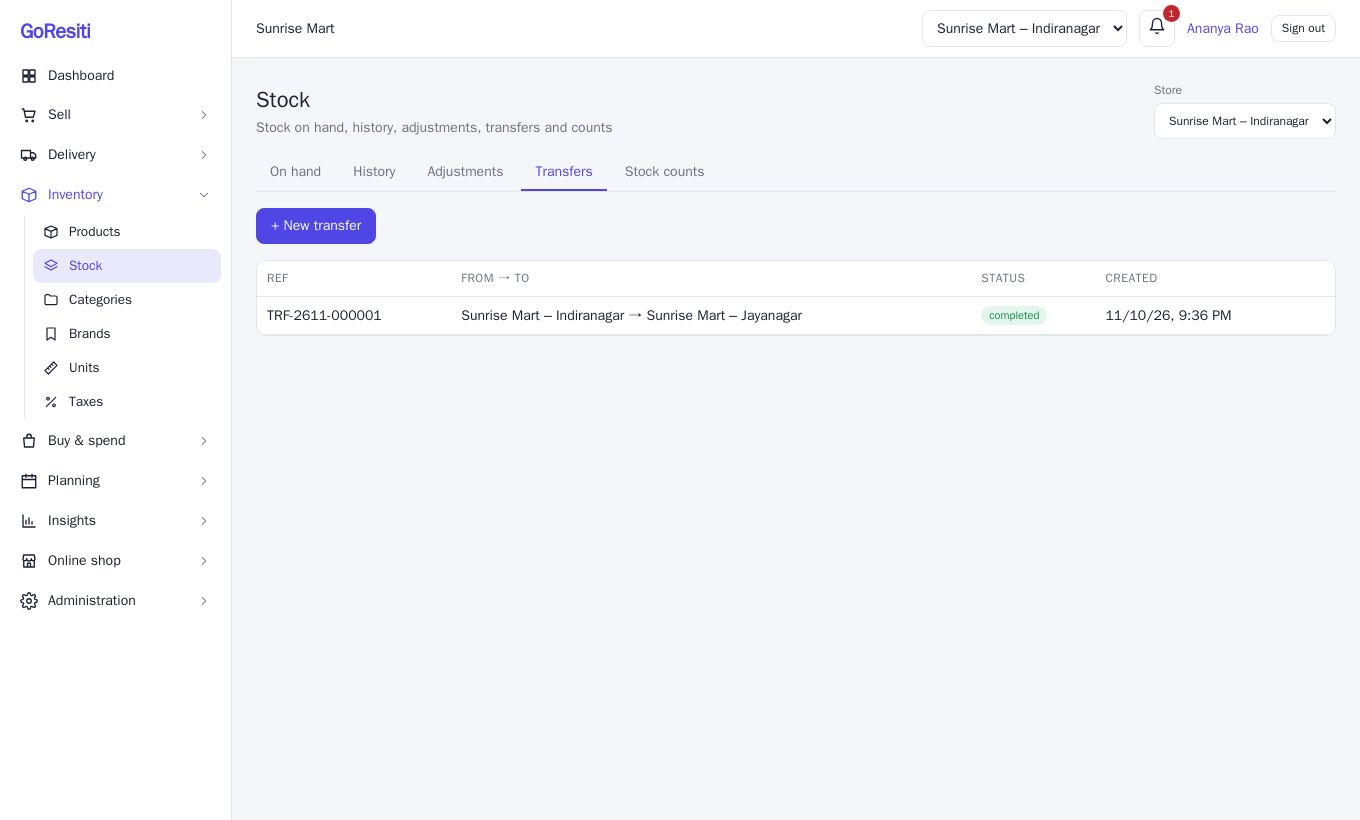
- Open the Transfers tab and click + New transfer.
- Choose From (your source store) and To (the destination).
- Add each Product and Quantity.
- Click Send transfer.
When you send, stock leaves the source store straight away and the transfer shows as in transit. Then:
- The receiving store opens Transfers and clicks Receive when the goods arrive. Stock is added to that store.
- If the goods are not going after all, click Cancel. The stock goes back to the source store.
Transfers need the stock transfer permission. You can only send from stores you have access to.
#Stock counts
A stock count checks your shelves against the system. You can do it for the whole store or only for the products you scan.
#Starting a count
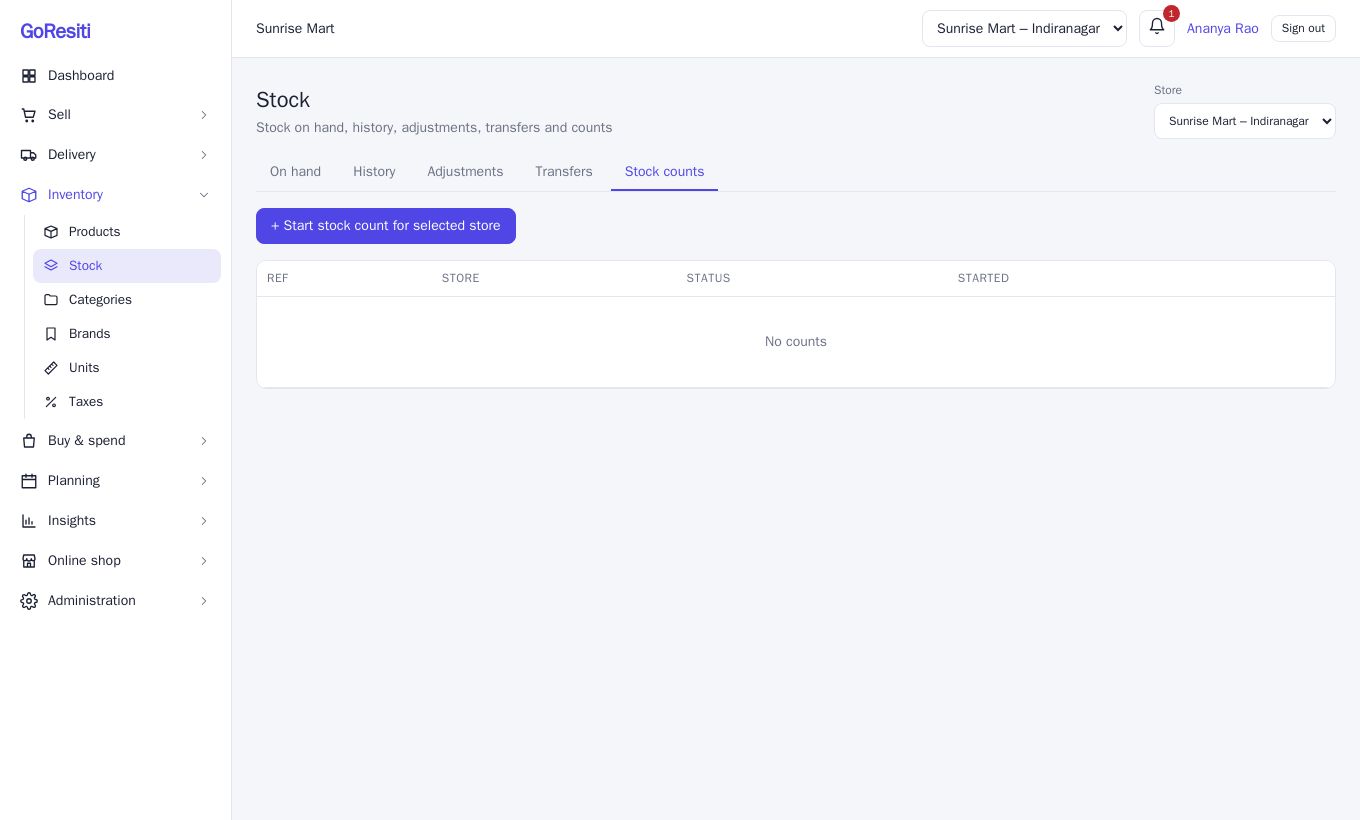
- Choose one store in the Store drop-down (a count is for one store).
- Open Stock counts and click + Start stock count for selected store.
- The count opens with every active product and variant, and the quantity the system expected at that moment.
#Counting
- Click the scan box and scan each item's barcode. Every scan adds to that product's counted quantity (use Qty per scan if you scan one barcode for a bundle). A beep tells you it worked, and a message shows the product and its new count.
- You can also type a quantity straight into the Counted (present) column.
- If a product has variants, scan the variant's barcode.
- Selling continues normally during a count. Sold since and Expected now show how the system quantity has moved, so late sales are not mistaken for missing stock.
The cards at the top show how many lines are counted, matching, Short (missing) and Over (extra). Use the filter box and the All lines / Counted only / Not yet counted / Differences only drop-down to focus on what matters.
#Finishing
- Close (progress is saved) lets you stop and come back later. Open the count again from the list.
- Finalise & adjust stock applies the differences to your stock. It needs the stock approval permission, so it is usually done by a manager.
Before finalising, decide about items you did not scan. Tick Treat the ... line(s) not scanned as zero (missing) only if you counted everything. Otherwise unscanned lines are left unchanged, which is right for a partial count.